
This guide will help you learn how to change your Map to Amissa on your ARK Survival Ascended Server.
Running your own ARK: Survival Ascended server gives you the freedom to explore new worlds, customize gameplay, and keep your community engaged. One of the most exciting ways to refresh your server experience is by switching to a custom map. Amissa is a popular fan-made map that offers unique biomes, breathtaking landscapes, and challenging environments that go beyond the official ARK maps. In this guide, we’ll walk you through the process of changing your server’s map to Amissa. Whether you’re hosting privately for friends or managing a larger community, the steps are straightforward once you know where to look. By the end, your server will be running Amissa, ready for exploration and adventure.
Changing your Map to Amissa on your ARK Survival Ascended Server
1. Log in to your Game Control Panel and navigate to your service.
2. Before making any modifications, stop the server from running by clicking the Stop button.

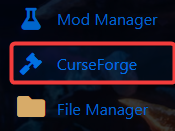
3. Navigate to Curseforge Tab.
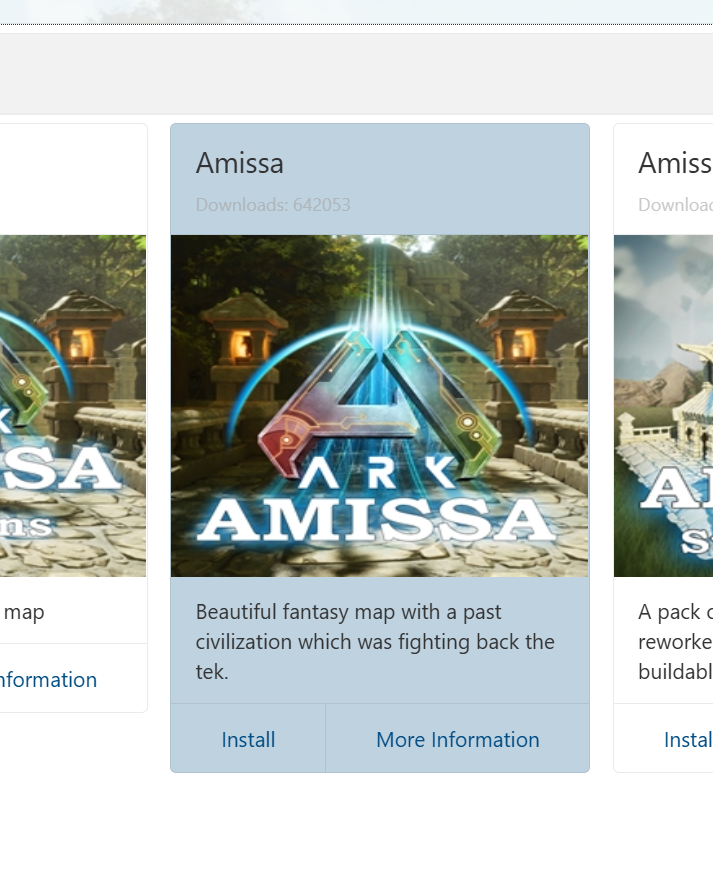
4. On the Curseforge, search for the Amissa Map and install it.
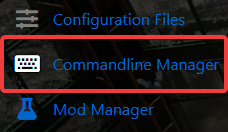
5. Next is navigate to the Commandline Manager Tab.
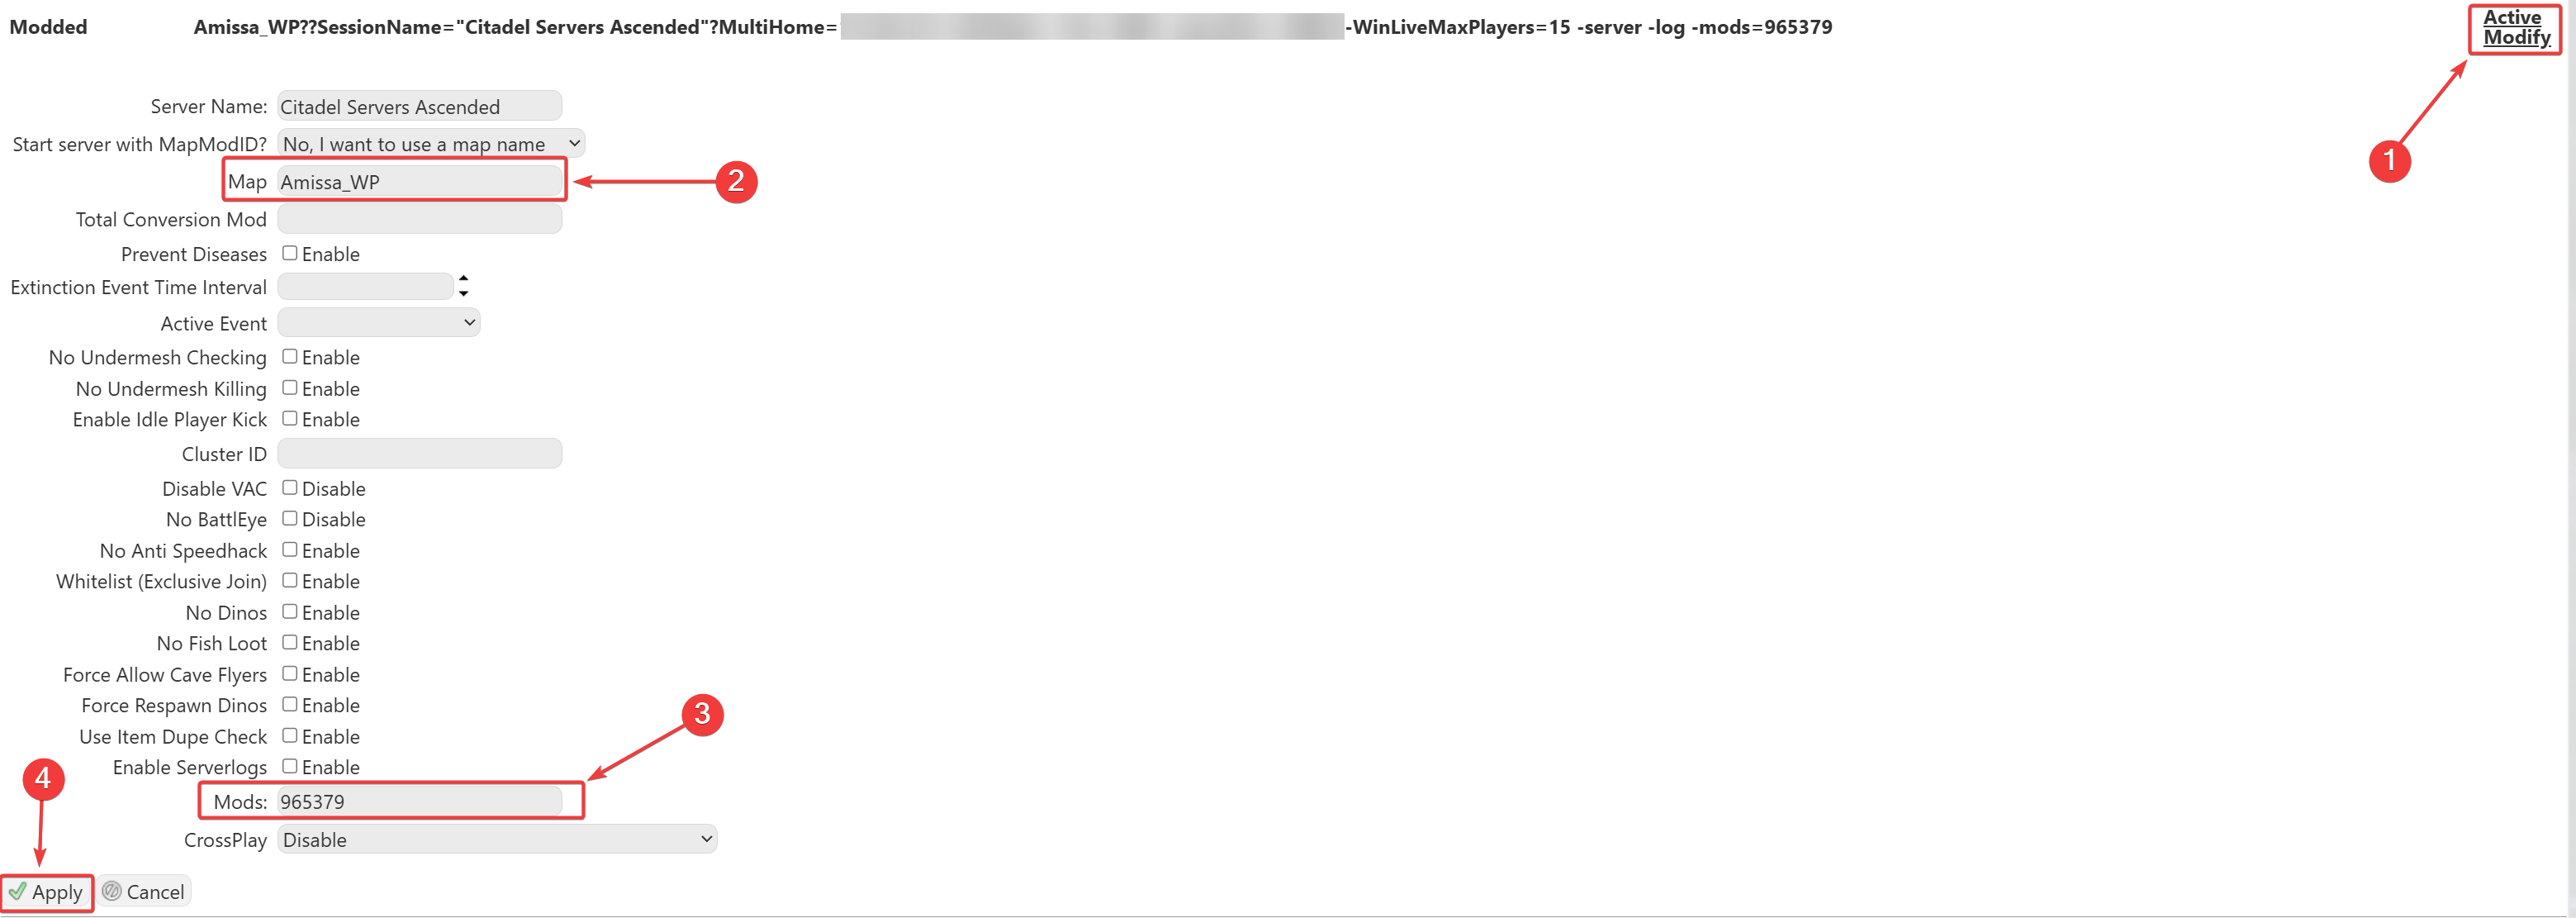
6. On the Commandline Manager, click Modify on the Modded option. In the Map section, enter:
Amissa_WP.
7. Make sure the Mod ID for Amissa is added to your mod list to ensure the map loads properly.
Mod ID - 965379
8. Once everything is set up and the server is started, you’ll be able to find your server in the in-game server list.

Note: We support all official maps of the game for ARK: Ascended. "_WP" needs to be added at the end for the maps to work.
Please make sure to follow proper capitalization as they are case-sensitive.
