![]()
This guide will help you with a step-by-step guide to Configuring Permissions on your Hytale Server
Configuring permissions is one of the most important parts of running a stable and well‑managed Hytale server. Permissions determine who can build, moderate, use commands, or access sensitive server functions, and getting them right early on helps prevent chaos as your community grows. Whether you’re setting up a private world for friends or preparing a public server with multiple staff roles, understanding how to structure and assign permissions gives you the control you need to keep gameplay fair, secure, and enjoyable. This guide walks through each step of the setup process, explains how permission groups work, and highlights common pitfalls so you can build a server environment that runs smoothly from day one.
Configuring User Permissions on Your Hytale Server
1. Log in to your Game Control Panel and navigate to your service.
2. Navigate to the Web-Console Tab.

3. In the Web-Console tab, enter the desired command. Multiple permissions are separated by a comma.
| Command | Description |
/perm user list <uuid> |
Displays all permissions of the user. |
/perm user add <uuid> <permissions> |
Adds permissions to a user. |
/perm user remove <uuid> <permissions> |
Removes permissions from a user. |
/perm user group list <uuid> |
Displays the group permissions of a user. |
/perm user group add <uuid> <group> |
Adds the user to a group permission. |
/perm user group remove <uuid> <group> |
Removes the user from the group permission. |
/perm group list <group> |
Displays all permissions from a group. |
/perm group add <group> <permissions> |
Adds permissions to a group. |
/perm group remove <group> <permissions> |
Removes permissions from a group. |
How to Set Up Permissions on a Hytale Server (Files)
1. Log in to your Game Control Panel and navigate to your service.
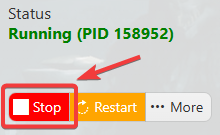
2. Before making any modifications, stop the server from running by clicking the Stop button.
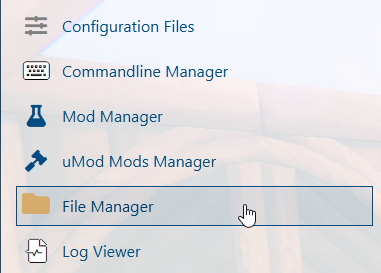
3. Navigate to the File Manager Tab.
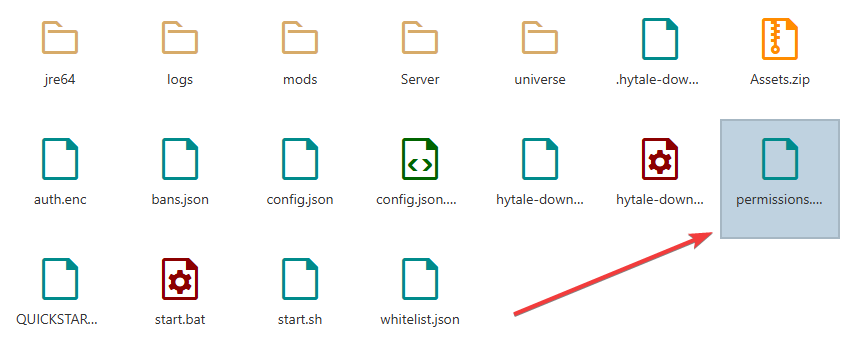
4. In the File Manager, open the permissions.json file.
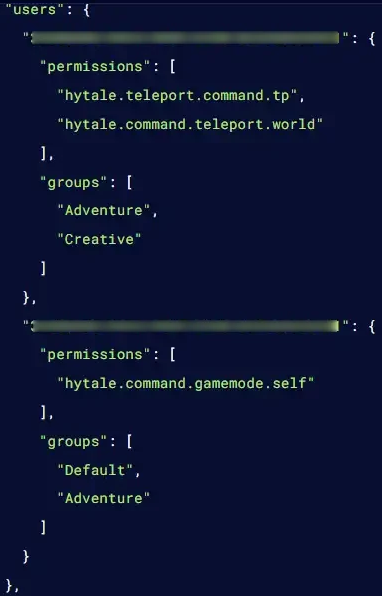
5. Inside the "users" curly brackets{}, enter the permissions you want to assign to the user. Use the following format, and separate each permission with a comma ,:
"PlayerUUID": {
"permissions": [
"perm1",
"perm2"
],
"groups": [
"group1",
"group2"
]
}
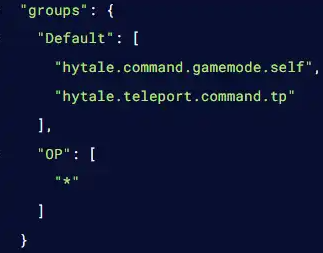
6. Inside the "groups" curly brackets{}, specify the permissions you want to assign to the group. Use the correct format and separate each permission with a comma ,.