![]()
This guide will help you on how to upload and install a Save on your Hytale Server.
Uploading and installing a save on your Hytale server lets you bring an existing world, whether it’s a personal single‑player adventure, a custom‑built map, or a downloaded creation, directly into your multiplayer environment. This process replaces the server’s current world with your chosen save, allowing you to continue progress, showcase builds, or launch a curated experience for your community. Because Hytale stores world data in a dedicated save folder, the upload process is straightforward once you know where your files are located and how your hosting panel handles file management. A successful upload ensures that all world data, structures, and player progress load correctly when the server starts. It also helps maintain consistency across sessions, especially for servers that rely on custom terrain, adventure maps, or modded content. Understanding how to prepare your save, where to place it, and how to restart the server properly prevents issues like corrupted worlds, missing chunks, or mismatched configurations.
Uploading a Save on your Hytale Server
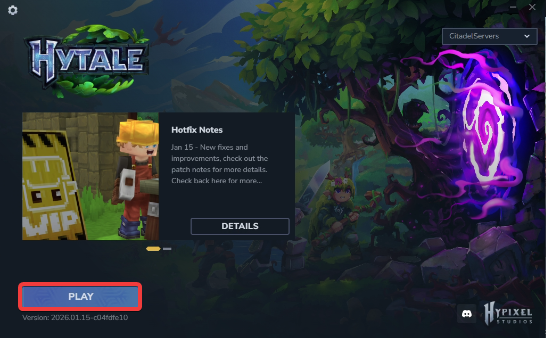
1. Launch the Hytale Game.
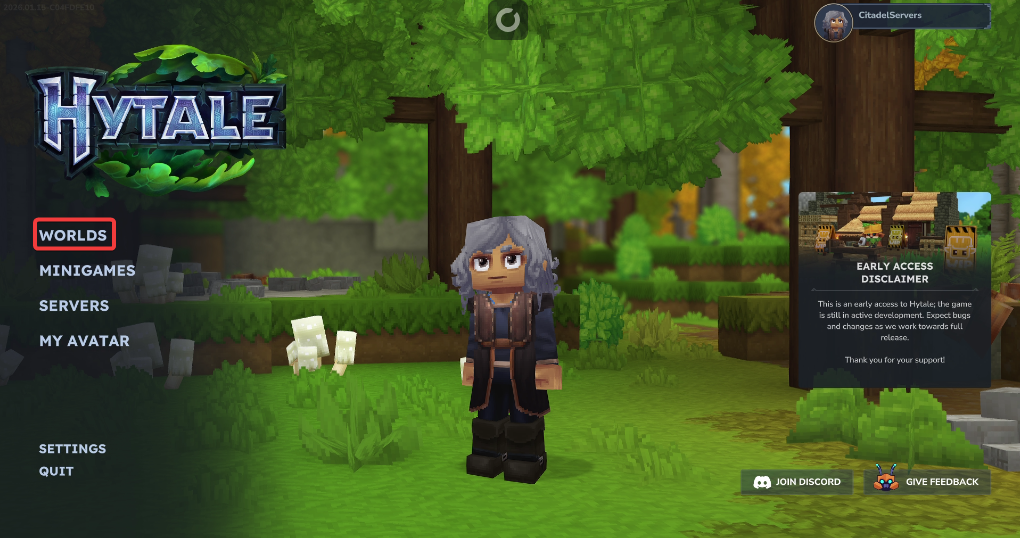
2. Open the World's Menu.
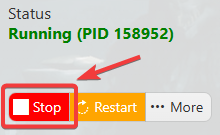
6. Before making any modifications, stop the server from running by clicking the Stop button.
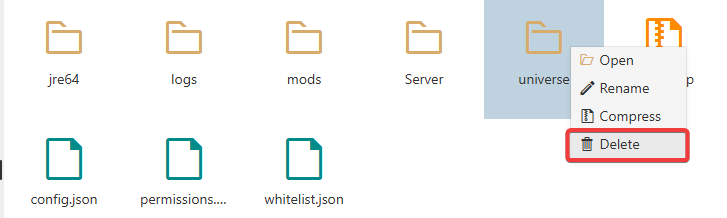
7. Navigate to the File Manager Tab.

8. On the File Manager tab, look for the universe folder. Right-click the folder and delete it.
9. Upload the universe folder of the chosen world that you wanted to your server.
When uploading, we highly recommend using FTP tools such as FileZilla.
With the folder transferred, you can now start your server and enjoy your world.
