![]()
This guide will help you with how to add custom mods to your Hytale Server.
Adding custom mods to your Hytale server opens the door to a far more personalized and dynamic gameplay experience. Instead of relying solely on the base game’s mechanics, mods let you introduce new systems, items, biomes, creatures, and even entirely new progression paths. For server owners, this means the ability to shape a world that reflects your community’s style, whether that’s a hardcore survival realm, a story‑driven RPG, or a chaotic sandbox full of experimental features. Modding in Hytale is designed to be creator‑friendly, but it still requires a clear understanding of how the server handles files, scripts, and dependencies. Each mod interacts with the game’s data model in its own way, so knowing how to install, organize, and troubleshoot them ensures your server stays stable and performs well as you expand its capabilities. This guide walks through the process of adding custom mods safely and effectively, helping you build a server environment that’s both powerful and uniquely yours.
Installing and Managing Mods on a Hytale Server
Important Note: Always stop the server before making any changes to prevent errors or server issues.
Step-by-Step Installation Guide
Step 1: Open Your Game Panel
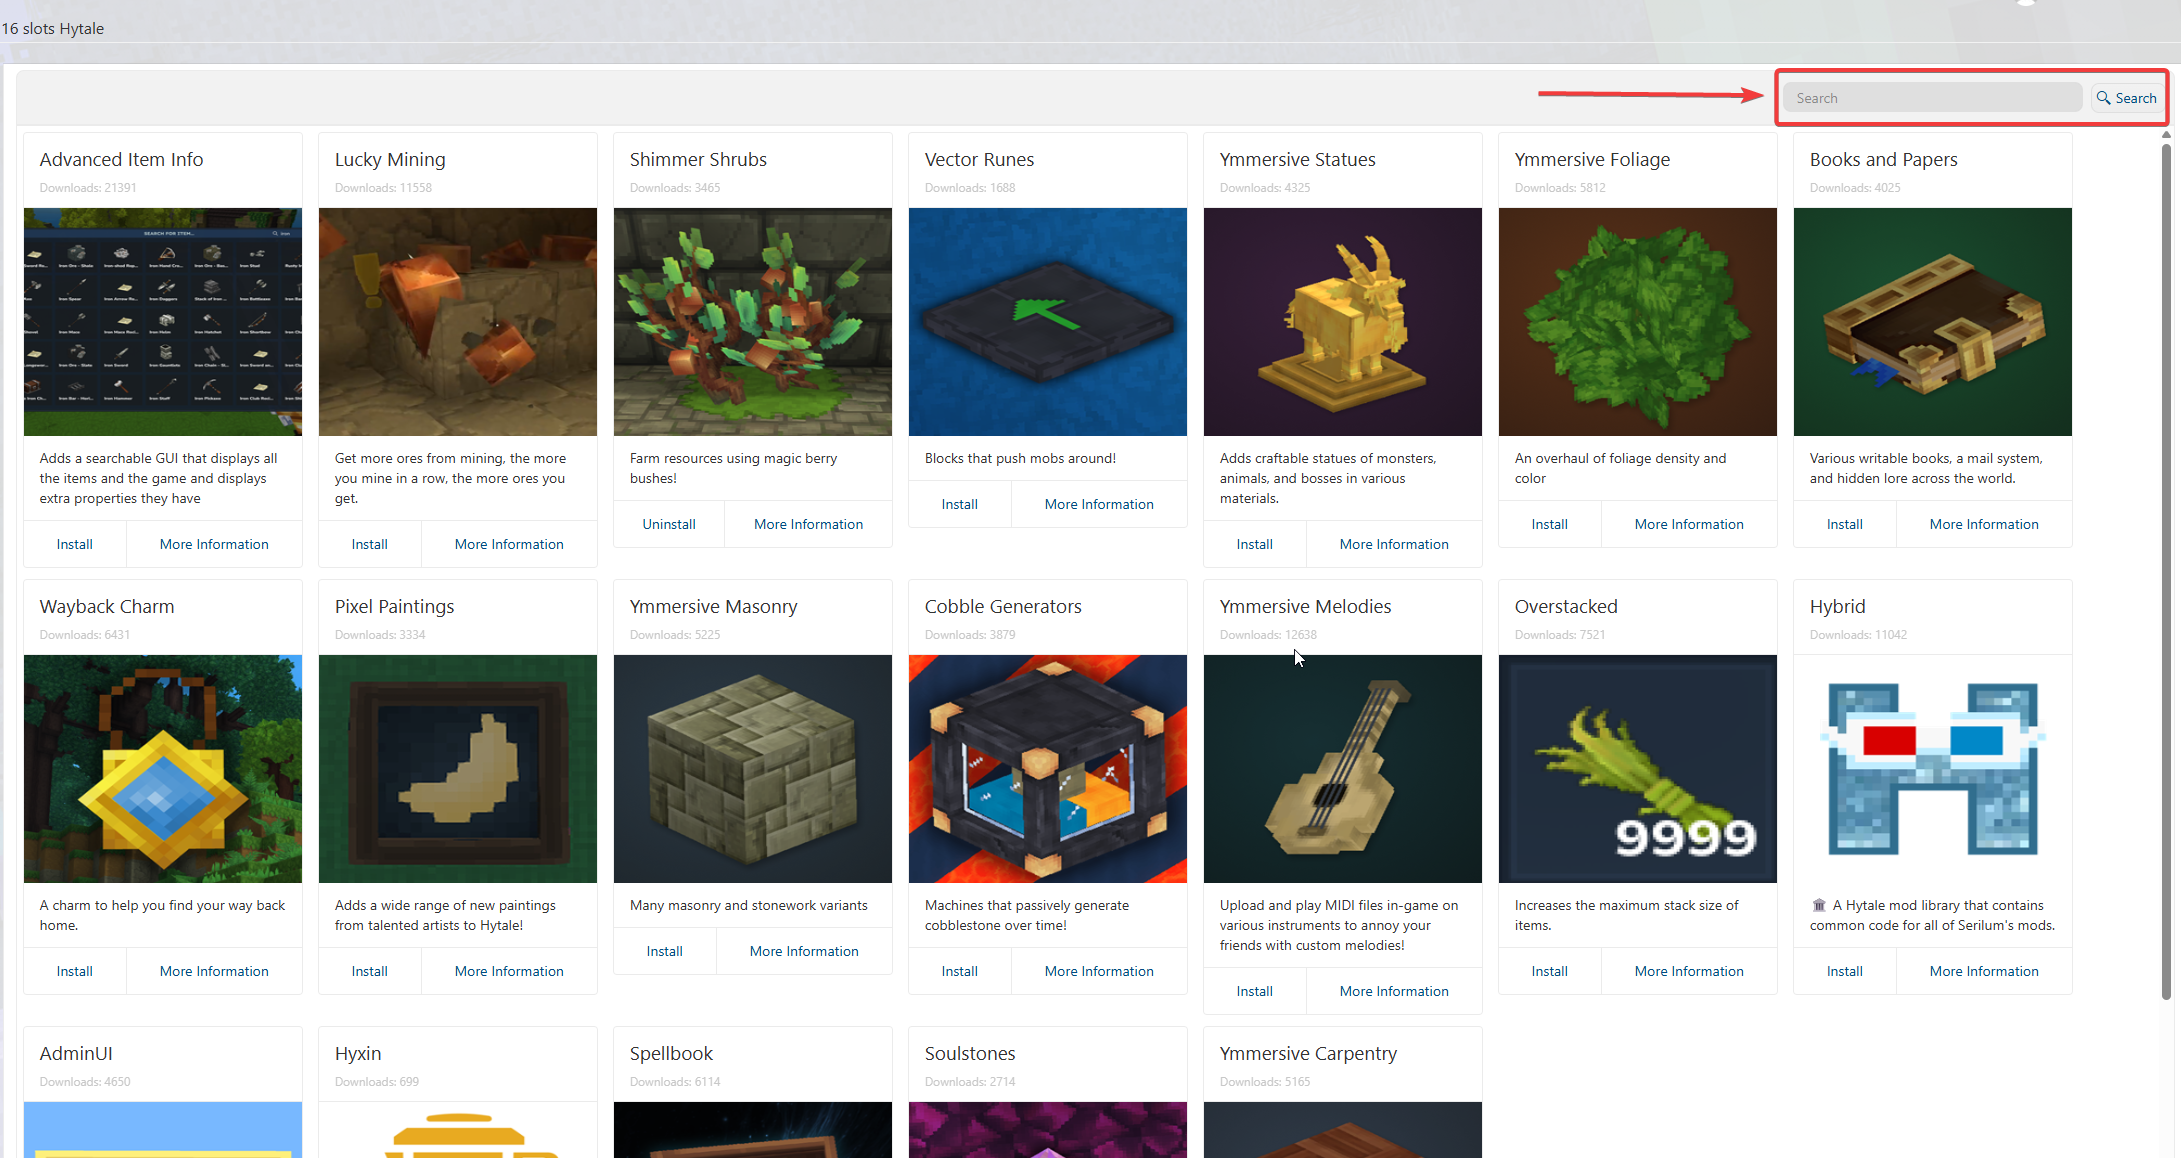
Log in to your Game Control Panel
Step 2: Navigate to the CurseForge Tab
In the game panel, locate and open the CurseForge tab.

Step 3: Search and Install Mods
Use the search bar to find the mods you want to install.
Select the desired mods and click Install to install the mods
Step 4: Start the Server
Once all mods are installed, start the server.

Step 5: Confirm Mods In-Game
Join your server and confirm that the mods are loaded correctly upon joining.
