![]()
This guide will help you with how to Add Custom Prefabs to your Hytale Server
Custom prefabs are one of the easiest ways to bring personality, creativity, and efficiency to your Hytale server. Whether you’re importing detailed structures, custom terrain features, or handcrafted decorations, prefabs let you build richer worlds without starting from scratch every time. For server owners, knowing how to upload and manage these assets opens the door to faster world‑building, unique gameplay experiences, and a more immersive environment for your players. In this guide, we’ll walk through the process of adding custom prefabs to your Hytale server, explain the tools involved, and share tips to ensure everything loads smoothly once you’re in‑game.
NOTE: Uploading or spawning prefabs requires administrator permissions. For additional details, click here.
Uploading Prefabs on Hytale Server
1. Log in to your Game Control Panel and navigate to your service.
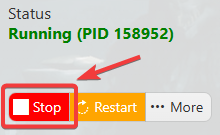
2. Before making any modifications, stop the server from running by clicking the Stop button.
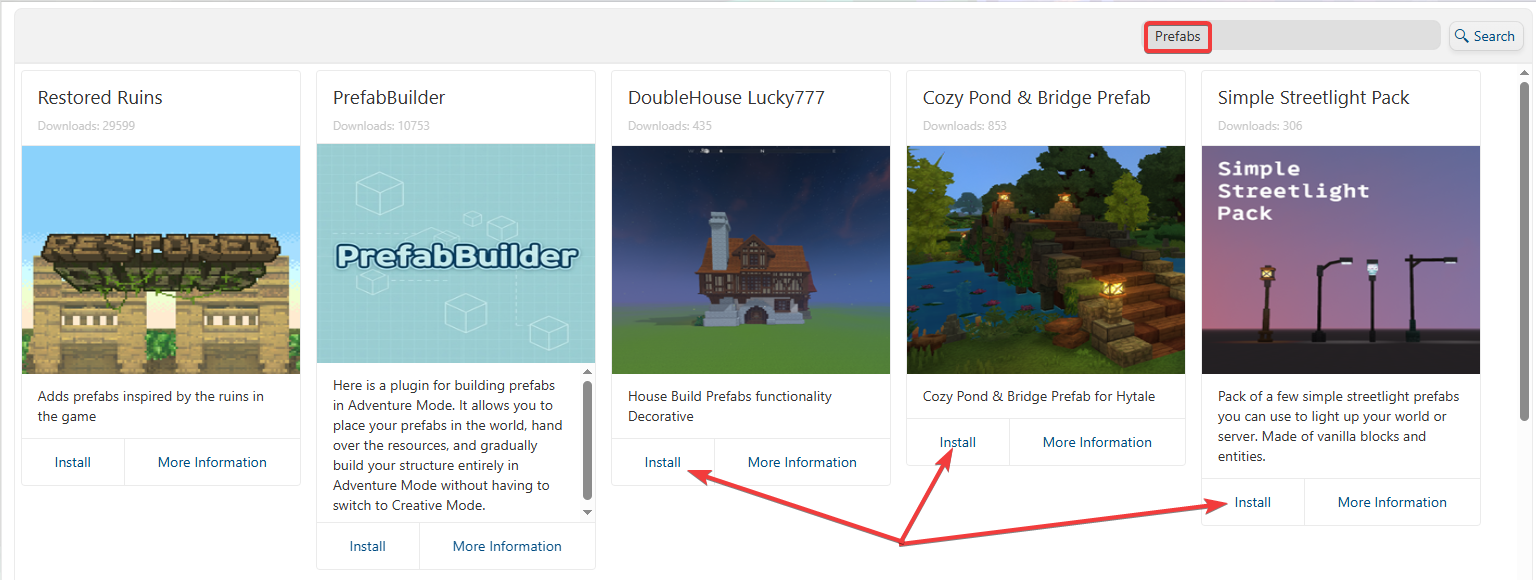
3. Navigate to the CurseForge Tab and install the desired prefab
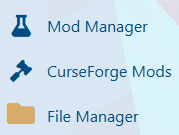

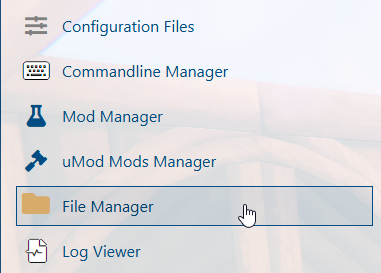
4. Navigate to the File Manager Tab.
5. On the File Manager, click the Create button.
6. Name the folder prefabs, then click Create.
7. Open the prefabs directory to proceed.
8. Add your prefab by uploading the appropriate .zip file to the server.
9. Right‑click the file and choose Extract to unzip it.
(NOTE: Unzipped prefab files must end with .prefab.json to be recognized correctly.)
10. Start the server.

11. Launch Hytale and join the server.

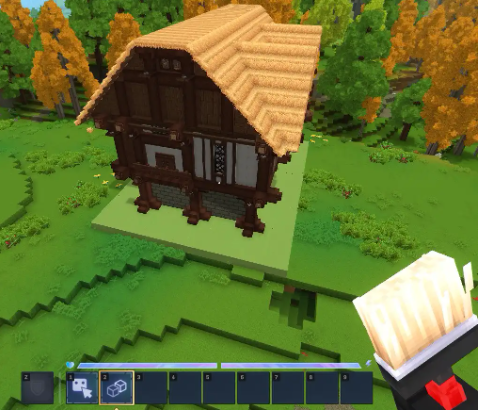
12. Press Tab, then select Creative Tools from the menu.
![]()
13. Open the World menu and choose Prefab List.
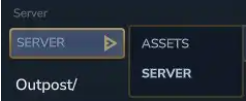
14. Click Assets, then choose Server from the location list.
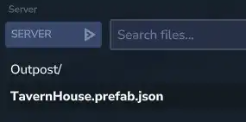
15. Click the uploaded prefab file to highlight it.
16. Press Spawn.

17. The player will receive the Paste Tool and can position the prefab as needed.